
Chicken Coop Mistakes That Cost Me Time + Money (And How You Can Avoid Them as a Beginner)
When we first got chickens, I had big dreams and a very small budget.
I thought I could be scrappy, clever, and still keep things simple. And in some ways, I could—but I learned (the hard way) that some corners just aren’t worth cutting.
From rebar-and-chicken-wire enclosures to a dog kennel that nearly broke my back to clean, I’ve made every coop mistake in the book. And honestly? Some of them cost me more than money—they cost me peace of mind and even my chickens' safety.
So in this post, I’m walking you through:
The chicken coop mistakes we made (and why we made them)
What I’d never do again (and what I would)
And how to avoid the same heartbreak if you’re just starting out
What We Thought Would Work (But Didn’t)
We were trying to be smart with money. We didn't understand the dangers facing a flock (especially when the sun goes down). We didn't realize how often we would be entering the coop to feed, water and worse yet, clean the coop.
Our first "coop" was actually a well-built dog run we found on Craigslist.
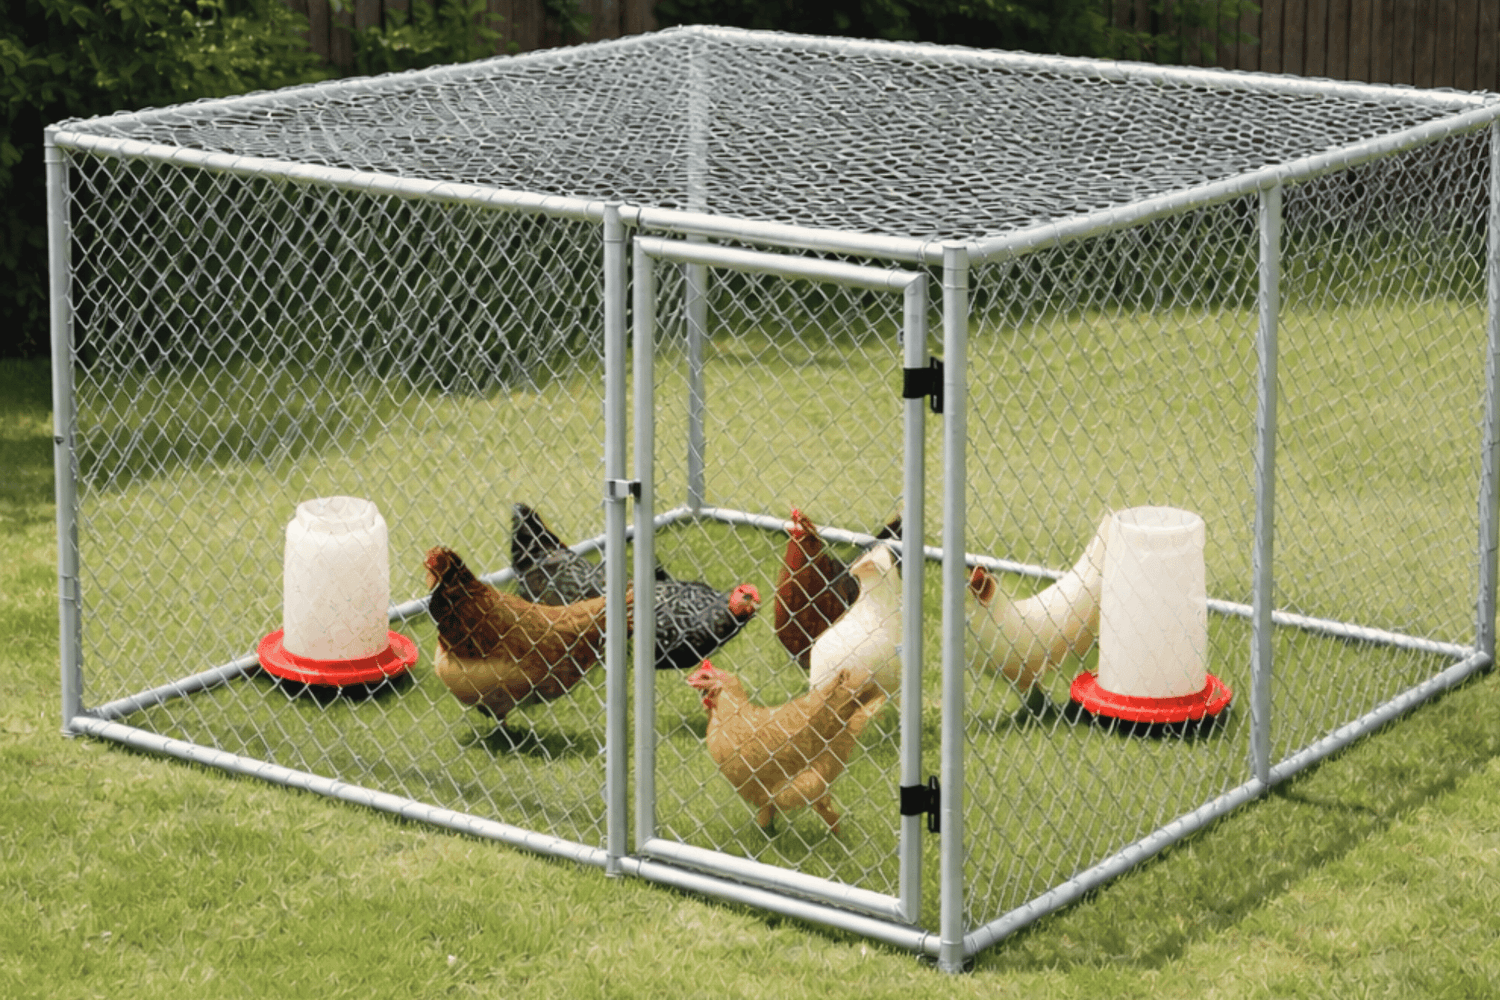
(recreation - not actual photo)
It was already built, strong and cheap—so we felt like we’d scored a major win.
Except… it was only four feet tall. 😬
Which meant nobody wanted to bend over and climb in there to refill the feeders and waterers, but worst of all, to clean it.
We hated it. Every chore became something we avoided.
And spoiler: when it’s hard to clean the coop, the chickens aren’t the only ones suffering.
So we tried again…
Determined not to overspend, we created what we lovingly call the “DIY disaster”:
Chicken wire (yes… I know. Cringe).
Rebar stuck in the ground as posts
One side of our garden fence as a sturdy back wall
Open top. No cover. No predator protection.
I will say this: it was easy to clean.
But it was not secure—and we paid the price.
Unbeknownst to us, our own beloved pets would play the roll of predators, not the coyotes that roamed the streets at night. And the offence would take place in the broad daylight, not under the cover of darkness.
🐾 The Day We Lost Our Chickens
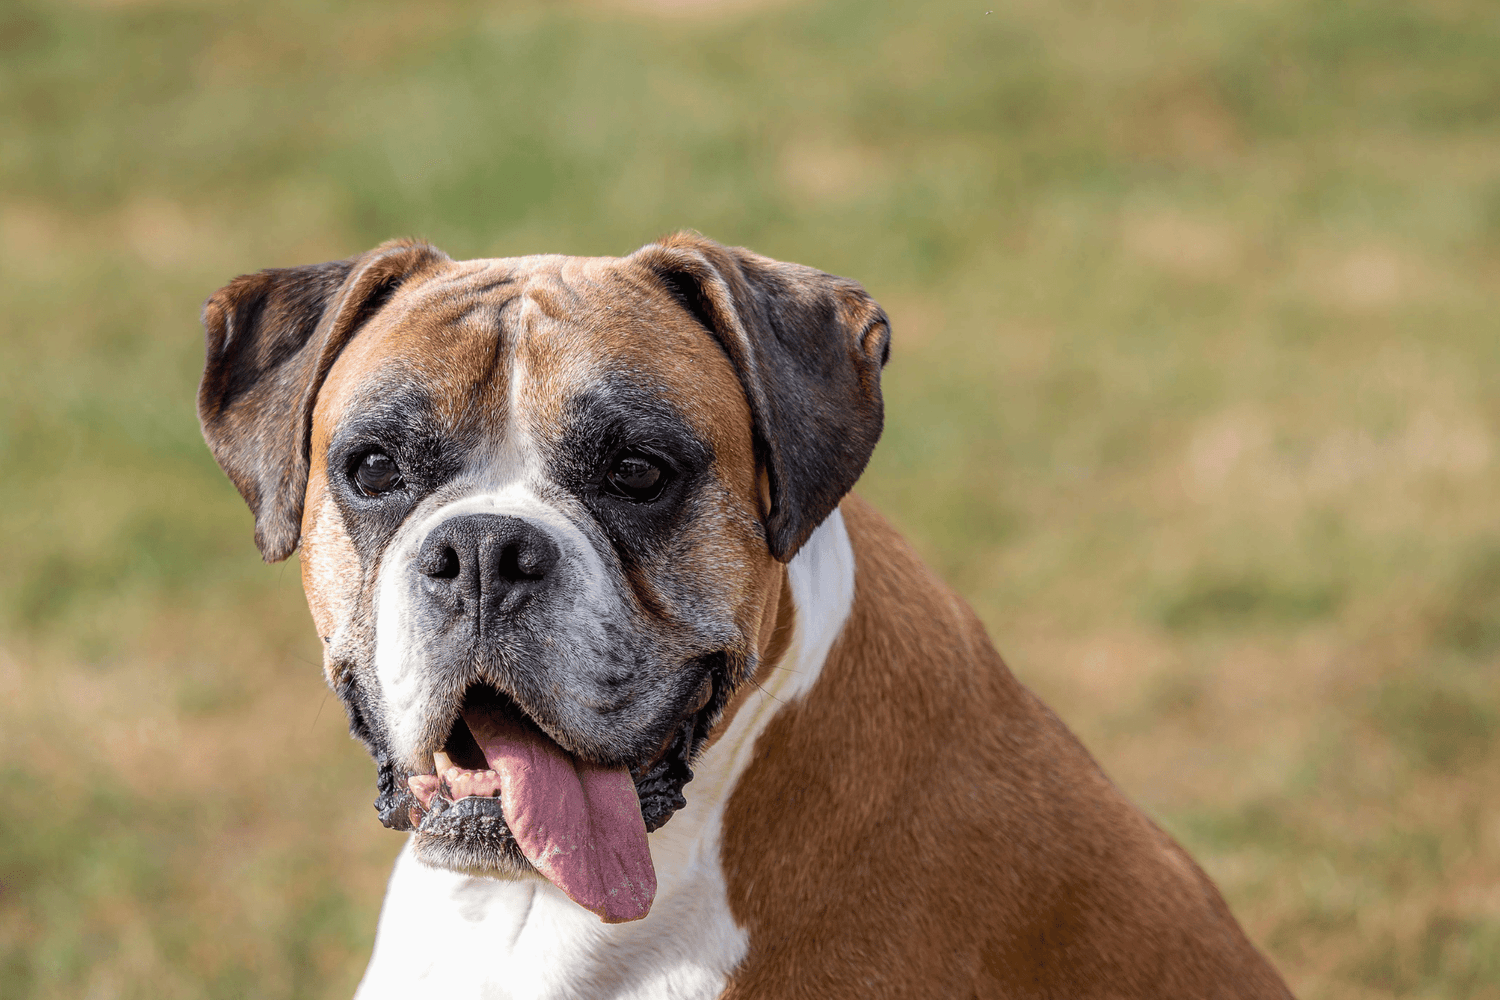
One day, while we were gone, our own dogs got into the enclosure.
There was no top, no barrier strong enough to keep them out.
They killed every single one of our chickens in about 15 minutes tops (all 12).
It was heartbreaking.
That was the day we said: never again.
What We Did Differently (And Why It Worked)
After that, we decided a secure coop with a secure run—something tall, safe, and easy to clean—was the only way to go.
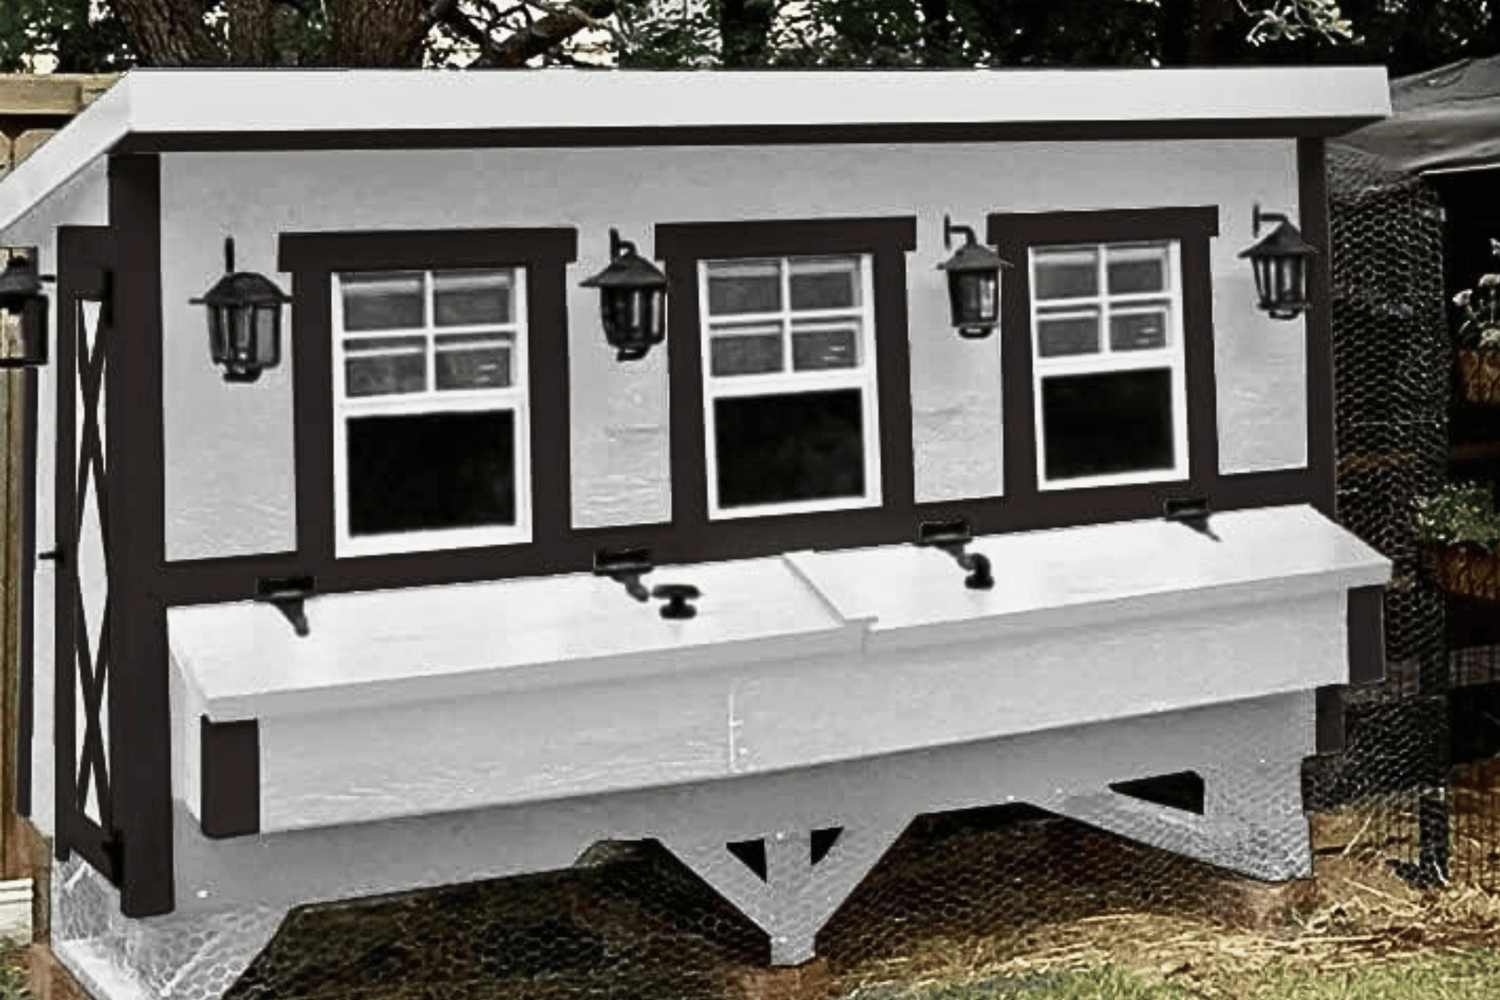
We saved up and finally found this sturdy chicken coop that has worked beautifully for our flock.
The nesting boxes are easy to access without even having to enter the coop.
The structure is fully enclosed, making it predator-proof
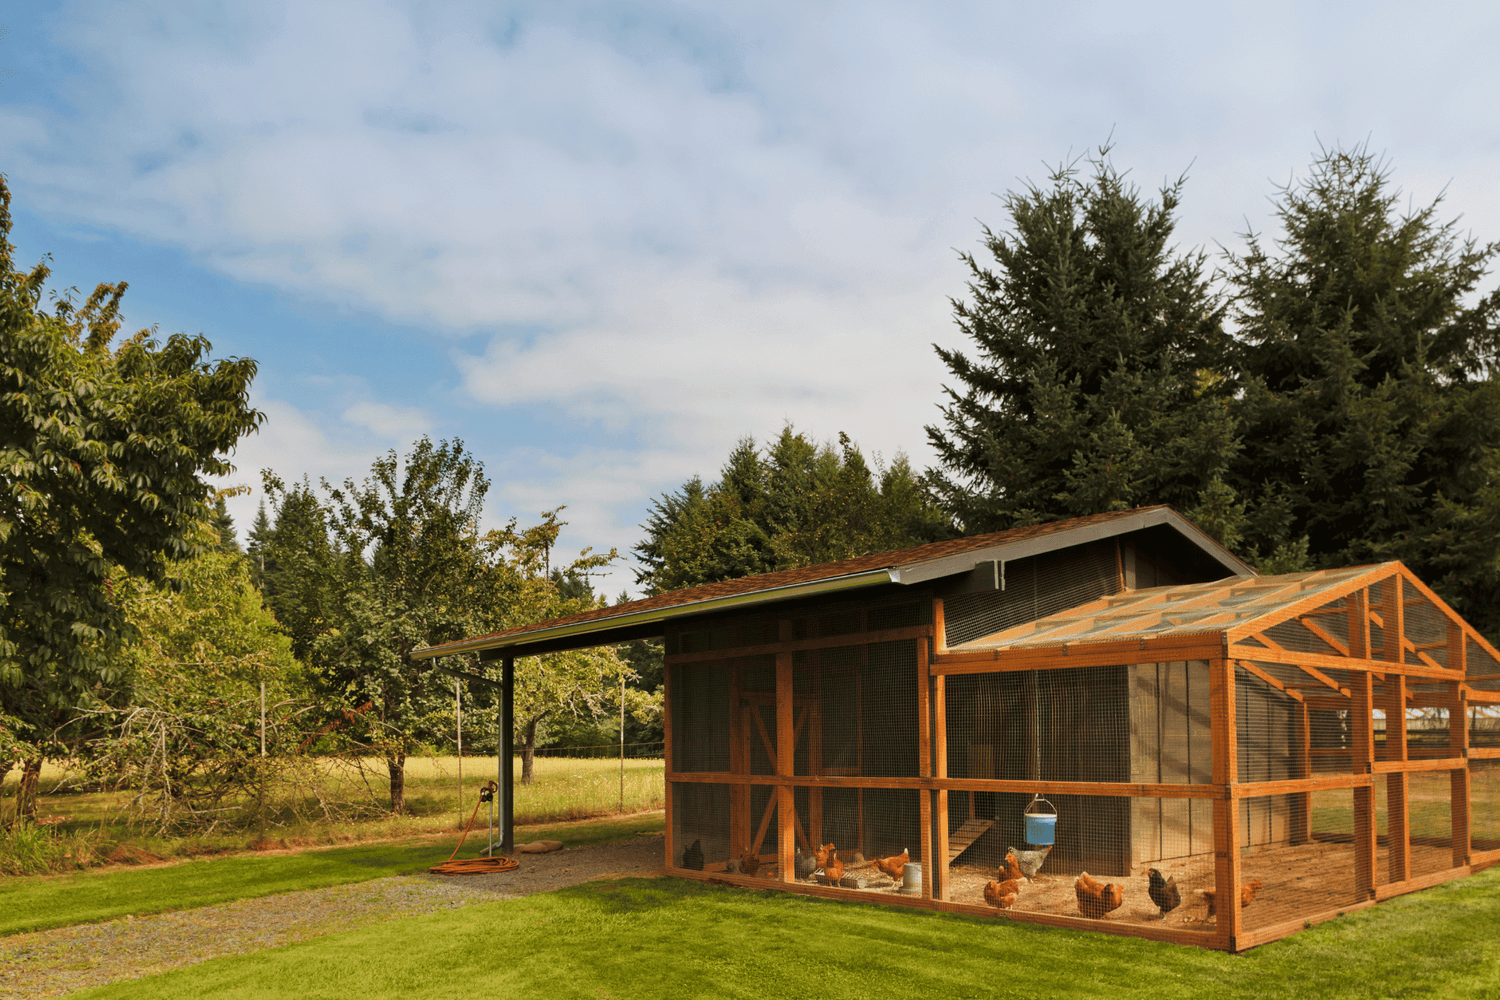
It holds up to 20 chickens (we have 19—including Stephen, our beta Silkie rooster 😂), and somehow they all still prefer piling onto one of the two roosting bars.
It’s tall enough to walk into, which makes cleaning actually doable.
(And for the record, I recently discovered a game‑changing coop flooring option [spoiler: sand] that’s made cleaning incredibly fast and hassle‑free—read the full breakdown here to see why it beats every other option.)
We also purchased a run to attach to it—not my favorite setup, if I’m honest. It’s not ideal, but it’s functional, and right now, that’s good enough. (Coop progress is still progress.)
The Mistakes I’ll Never Repeat
Looking back, here are the lessons we learned the hard way (so you don’t have to):
Mistake #1: Prioritizing Price Over Practicality
The Craigslist dog run felt like a win—but because it was only 4 feet tall, no one wanted to clean it.
What we saved in cash, we lost in comfort, consistency, and chicken health.
Mistake #2: Using Chicken Wire (Instead of Hardware Cloth)
Chicken wire might be cheaper than hardware cloth, but it’s not predator-proof. While it can keep chickens in, it won’t keep predators out.
Dogs, raccoons, snakes—and even rats—can tear through it or reach right through the openings.
Mistake #3: Leaving the Top of the Run Exposed
This one hurt.
Even though our DIY rebar run was easy to clean, the open top left our birds vulnerable.
A covered run is not optional if you want real protection.
Mistake #4: Skipping Comfort & Access for Humans
A coop that’s hard to clean = a coop that won’t get cleaned.
We didn’t realize how often we’d be crawling in there to scrub, rake, refill, and collect.
Now? A walk-in space is non-negotiable for us.
🧠 Still figuring out your first flock setup? Read: How Many Chickens Should Beginners Start With — because coop size and flock size go hand-in-hand.
🧰 What I Recommend Now (Even on a Budget)
You don’t need to go broke building your dream coop—but you do need to prioritize:
A tall enough space to clean easily
Predator-proof materials (hello, hardware cloth, not chicken wire)
A secure, covered run
Easy access to nesting boxes for collecting eggs
Proper ventilation without drafts
And don’t forget the importance of a good layout. Your setup should support your daily routines, not make them harder.
🐓 Want help planning all of this? My Free Chicken Keeper Starter Toolkit includes printable coop planning sheets, breed selectors, and a checklist to make this whole process way easier.
🧱 Final Thoughts: Some Lessons You Only Learn Once
If you’re in the middle of building or budgeting your first coop, trust me—you don’t need it to be Pinterest-perfect. But you do need it to be safe, easy to clean, and well thought-out.
Take it from someone who tried the cheap way, then the clever way… and finally landed on the right way—because I had to.
🐓 Want to Start Smarter Than I Did?
📥 Download my FREE Backyard Chicken Starter Toolkit
Includes:
Coop planning checklist
Flock size and breed planner
Egg production tracker
Tools for building a safe, beginner-friendly setup
📘 Looking for step-by-step support?
Grab my Raising Chickens for Beginners book on Amazon.
It walks you through every step of starting your flock—with lessons from someone who’s been through it.
This post may contain Amazon affiliate links, which means I may earn a small commission at no extra cost to you. I only recommend products I personally use and trust. 🐔